Guides
Written by
Hugo Cannon
How to replace your Airtag battery in 4 easy steps.
Table of Contents:
Navigating through the nuances of modern technology, particularly when it comes to maintaining our gadgets, can often feel like uncharted territory.
Among these gadgets, Apple's Airtag has quickly become a staple for those of us keen on keeping track of our belongings, especially when travelling.
Yet, even the best gadgets need a degree of upkeep, with battery replacement being a common necessity.
This guide aims to shed light on the significance of timely Airtag battery replacements, the signs that indicate a replacement is due, how to select the right battery, and, importantly, the step-by-step process of replacing the battery yourself.
Why Airtag Battery Replacement is Important
Maintaining the functionality of your Airtag is pivotal in ensuring it continues to serve its purpose effectively. Over time, batteries degrade, and their capacity to hold a charge diminishes, which can result in decreased performance or complete failure of your Airtag. This not only compromises your ability to track items but can also lead to situations where valuable items become lost without a trace.
Signs Your Airtag Needs a New Battery
Diminished Performance: If you notice your Airtag's tracking becoming less reliable, it could be a sign that the battery is failing.
Notifications from Your Device: Apple designed Airtags to alert you via your connected devices when their batteries begin to run low, making it essential to heed these notifications.
The Best Airtag Battery Replacements
Choosing the Right Battery for Your Airtag
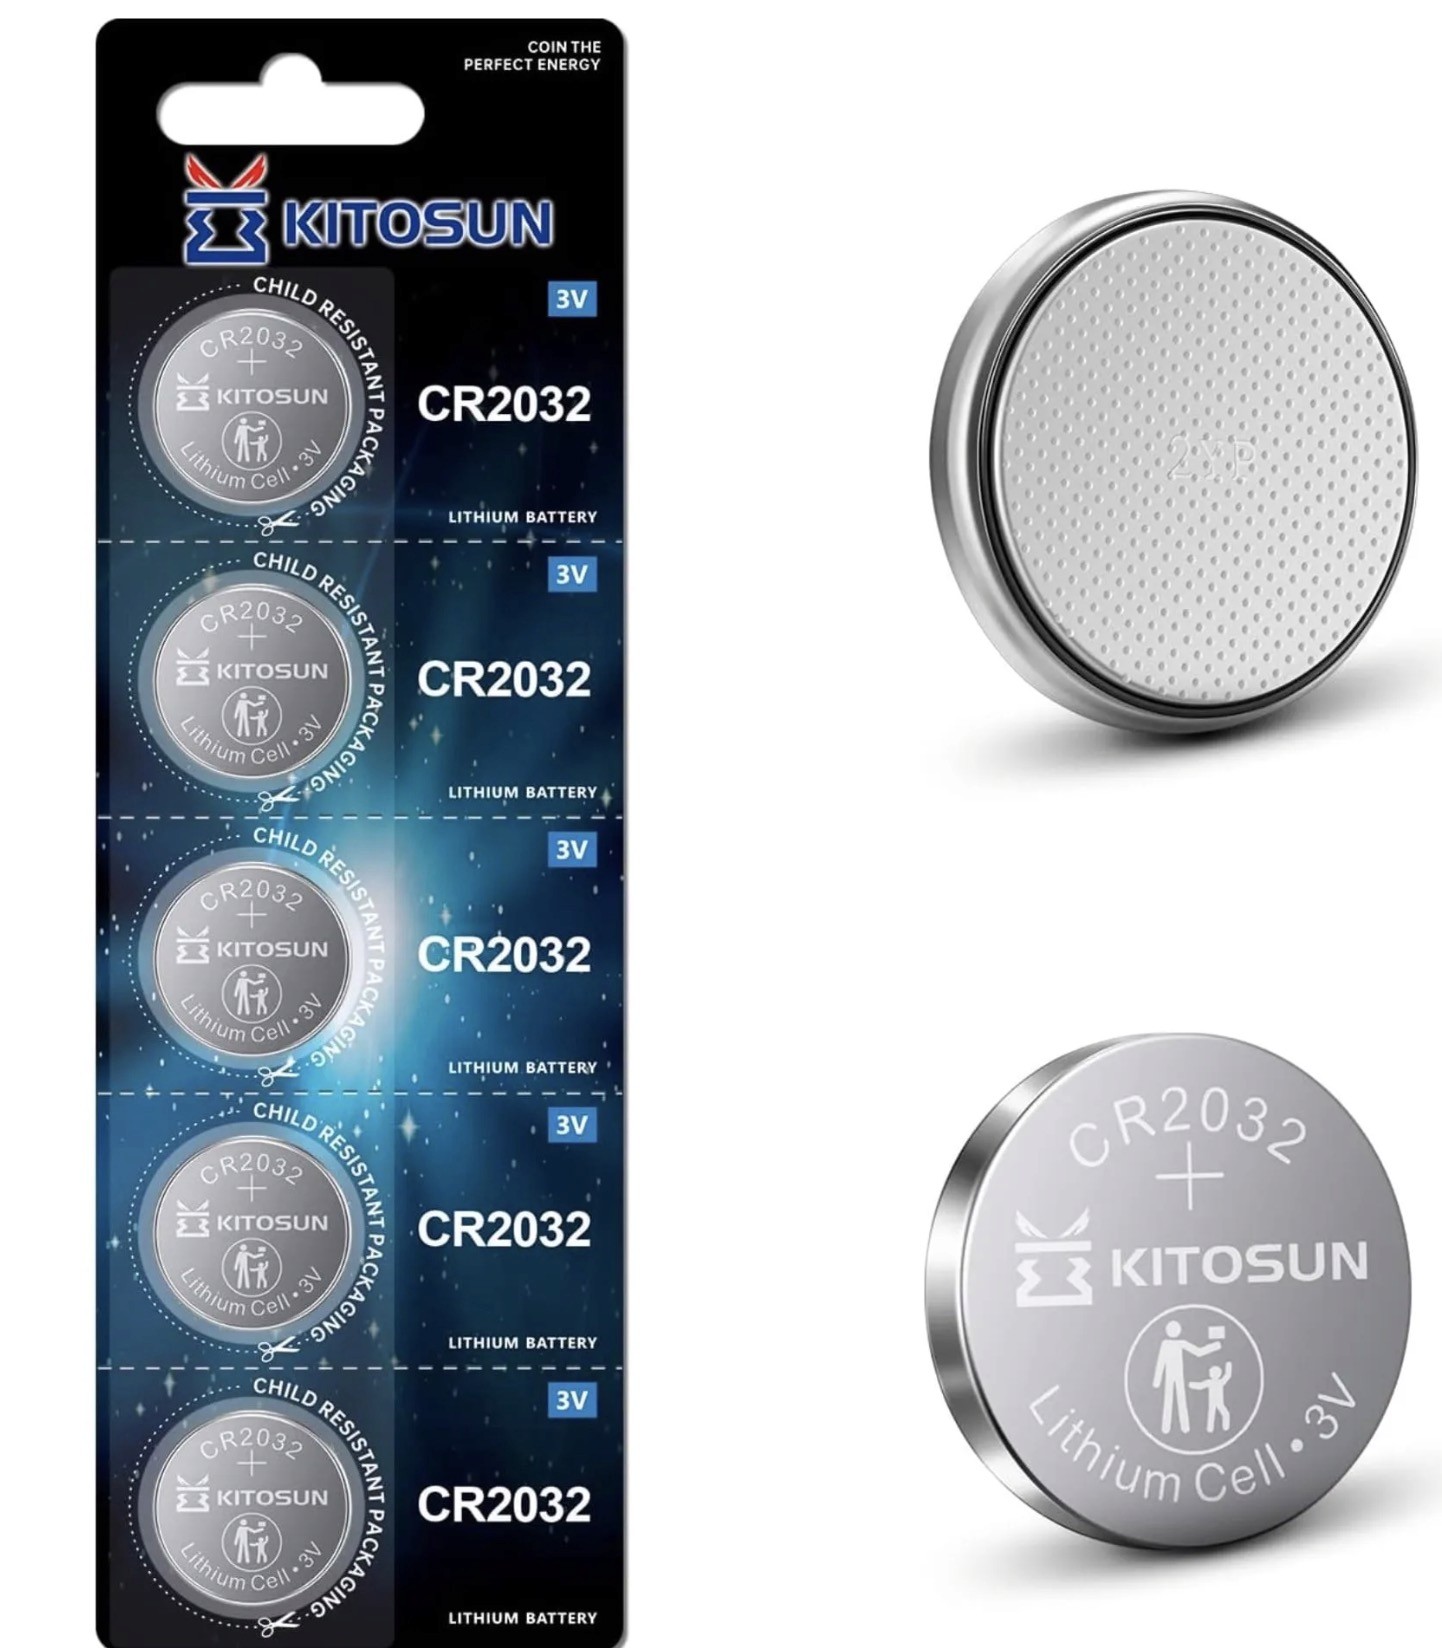
The Airtag requires a CR2032 coin cell battery, a common type that you can purchase from various brands. However, not all batteries are created equal. Opting for reputable brands can ensure longevity and reliability.
Kitosun CR2032 Batteries 3V Lithium Cell

DURACEL 2032 Lithium

Step-by-Step Battery Replacement Process
Replacing your Airtag's battery is a straightforward process that requires no special tools. Here's how to do it:
Opening Your Airtag: Press down on the battery cover and twist counterclockwise.
Removing the Old Battery: Once open, remove the spent battery.
Installing the New Battery: Place the new CR2032 battery positive side up.
Closing Your Airtag: Align the cover and twist it clockwise until it clicks into place.
If you're a visual learner, here's quick video overview of the entire process:
Maintenance Tips After Battery Replacement
After replacing your Airtag's battery, there are several practices to ensure its longevity:
Regular Check-ups: Periodically check your Airtag's battery status through the connected device.
Avoiding Extreme Temperatures: Extreme cold or heat can adversely affect battery performance.
Conclusion
With the right knowledge and a bit of care, replacing your Airtag's battery can be a simple task that ensures the longevity and effectiveness of this invaluable little tracker. Remember, a well-maintained Airtag is a reliable tool for keeping track of what matters most to you.
FAQs
How often should I replace my Airtag's battery?
Typically, an Airtag's battery lasts about a year, but this can vary based on usage.
Can I use any brand of CR2032 battery?
While most CR2032 batteries will work, opting for batteries from reputable brands can ensure better performance.
Is it safe to replace the Airtag battery myself?
Absolutely, the process is designed to be user-friendly with no special tools required.
Will replacing the battery reset my Airtag?
No, replacing the battery will not affect your Airtag’s connectivity or data.
What should I do with the old battery?
Dispose of it properly according to your local regulations for battery disposal.


